Using Custody X Change as a Professional: Overview
Custody X Change professional accounts have capabilities beyond what regular accounts have. They make it easy for you to collaborate with both clients and colleagues.
More professional help articles
Tips for professional users
Give your clients a free account
When you share with a client, they get a free one-year subscription.
Then they can enter information directly into Custody X Change, saving you time. For example, your client could choose parenting plan provisions, track deviations from their parenting time schedule, and journal about developments in their situation.
Create templates for schedules or parenting plans
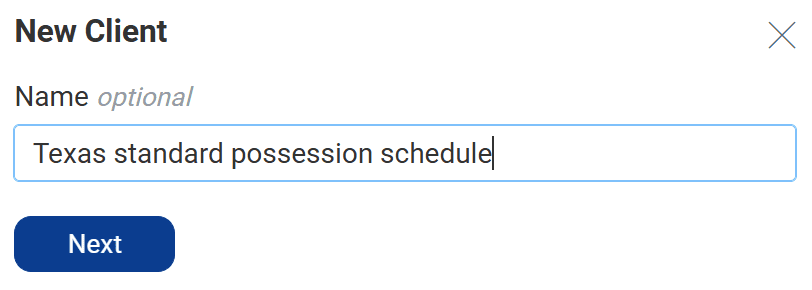
You can create fake clients to use as templates. Follow the usual process to add a client, but give the "client" a template name.
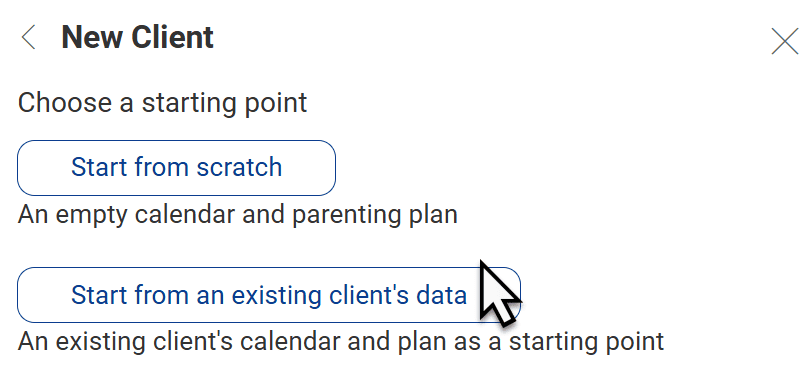
Then, in that account, create the schedules and/or parenting plan you want to save for future use.
To apply your template to a new client, choose to start with an "existing calendar/parenting plan" when you add the client into Custody X Change.
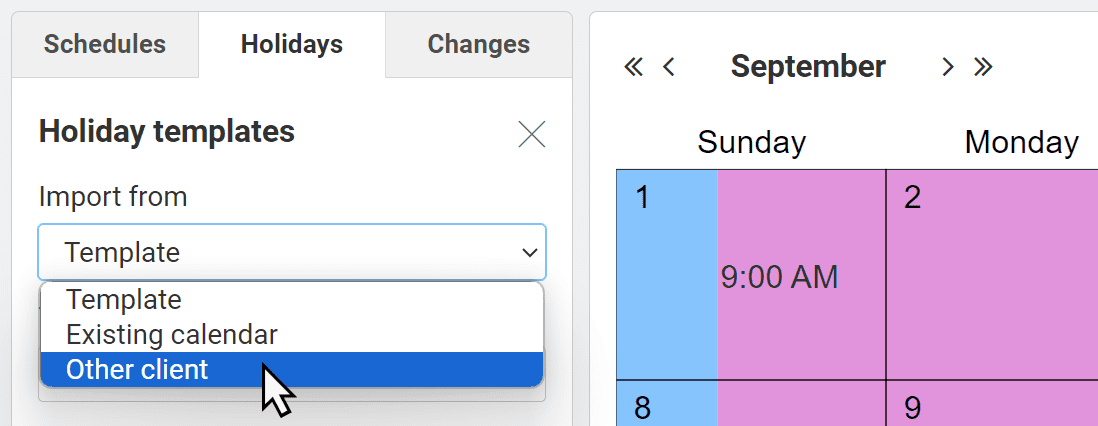
Reuse an existing client's holidays and annual occasions
When you create a holiday schedule (aka an annual occasion schedule in Australia, Ireland and the U.K.), save time by reusing what you've already entered for another client.
In the "holidays" tab (or "occasions" tab) next to your new client's calendar, click "templates."
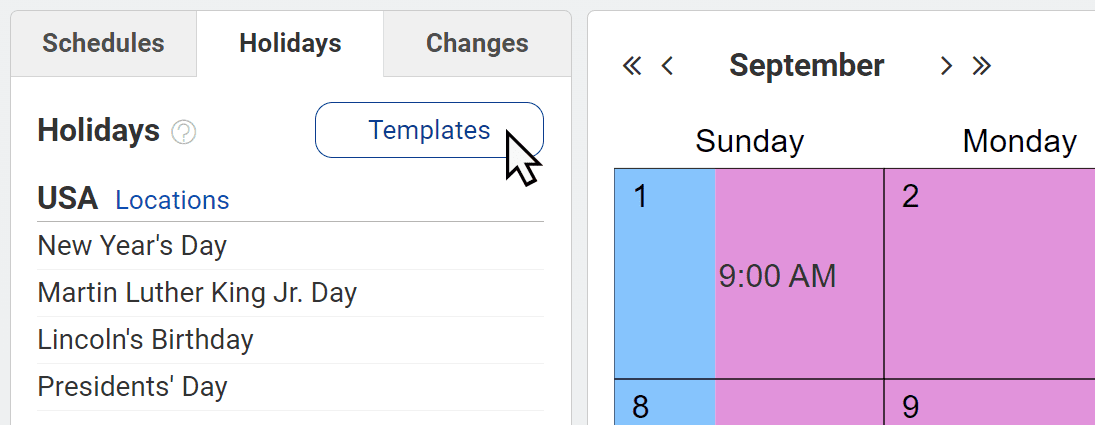
In the menu, choose "existing calendar's holidays." Then select an existing client, one of their calendars, and any or all of the holidays from that calendar.
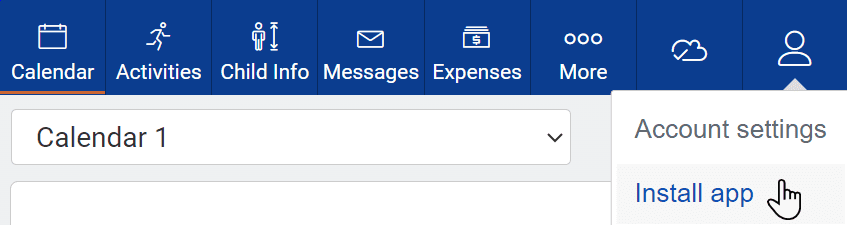
Install the app for easy access
To open Custody X Change in one click on your phone, computer or tablet, install the app.
You do this directly from the Custody X Change website, not from an app store.