Make a Schedule Without a Template (Manually)
In the steps below, you'll create a calendar manually.
You could instead start from a template and customize it. That goes faster for many people, especially if they want a common or simple schedule.
You must start from a template if:
- You already have a schedule entered that you don't want to change, and it begins before this new schedule.
- You're making a schedule that will override your regular schedule for weeks or months (like for summer break).
Before you build a schedule, consider the 13 factors that determine your best schedule.
Step 1: Add a visit
Click "add time manually" beneath or left of your calendar. (If you already have a schedule entered, look for the "add time" button.)
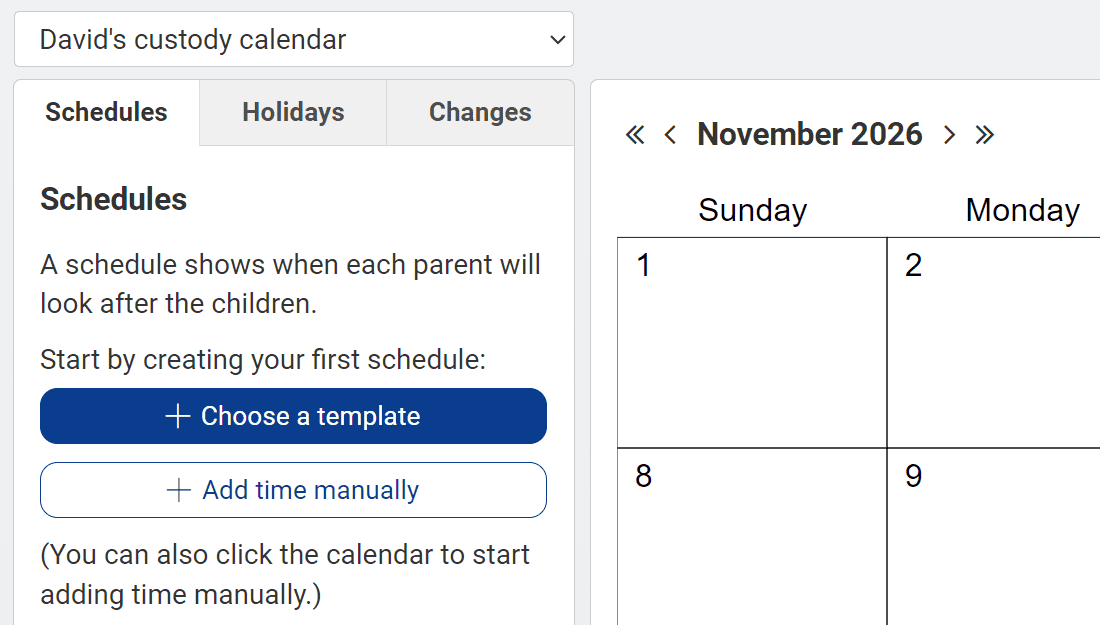
Or click in your calendar on a blank space that's roughly where you want your first visit to begin.
![]()
Step 2: Adjust visit details
The calendar will create a short visit. To change the start and end days/times, either click and drag in the calendar or use the options boxes to the left of your calendar (underneath your calendar on a phone).
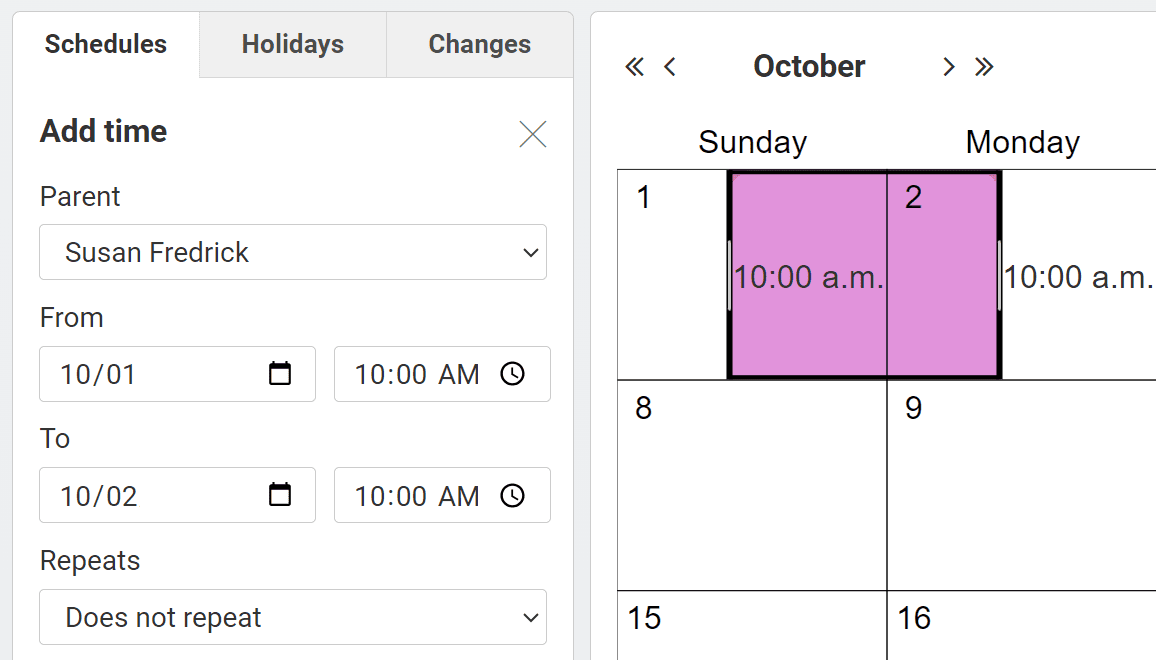
In the boxes, you can assign the visit to a parent or a third party (e.g., day care or a nanny).
If you set the visit to repeat, the app will automatically give the time between the visits to the other parent. (You can adjust this in the next step.)
If you don't set the visit to repeat, you'll have the option of giving it a title since this visit is presumably for a unique reason.
Unless your schedule has no clear pattern, use repeat visits. It will save you from having to enter every one separately. If you need a visit to repeat at a different frequency than every week or other week, use a schedule template.
Click "save."
Step 3: Add more visits and make edits
If you set your visit to repeat
You'll see your schedule listed under the "schedules" tab. It will have been named automatically (e.g., Schedule 1).
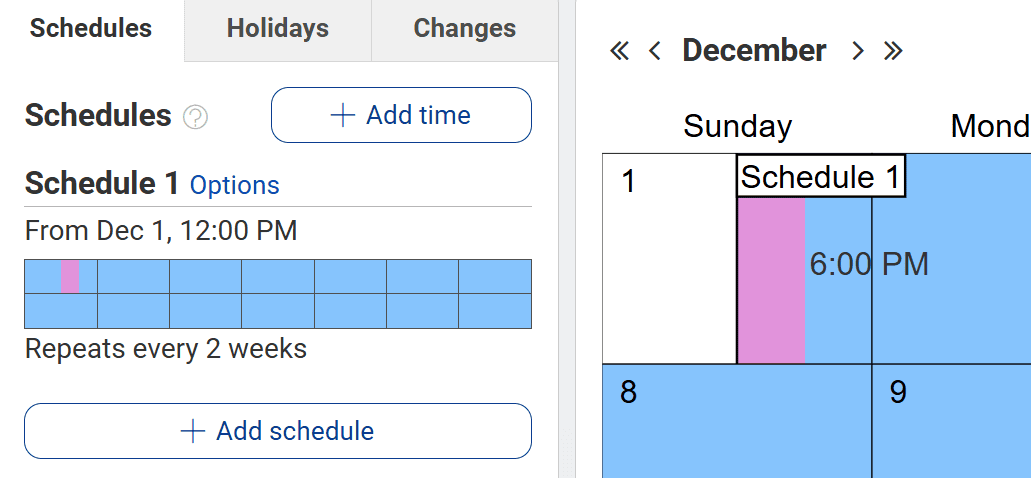
You can keep adding visits by repeating the steps above. Either click "add time" or in the calendar. This time, you do not need to click in a blank space since you want to adjust your existing schedule. Adding a visit where one already exists replaces the old visit (or part of it).
You can also edit your schedule by clicking "options" — you'll be able to rename your schedule, delete it, change the start date, etc.
If you know you'll need a different schedule in the future — e.g., when your child reaches a certain age — create additional schedules using templates (with the "add schedule" button). You'll be able to choose the date when each will take effect.
If you didn't set your visit to repeat
You'll see your visit listed under the "changes" tab. The app treats your visit as a one-time change, not a schedule, since it only occurs one time.
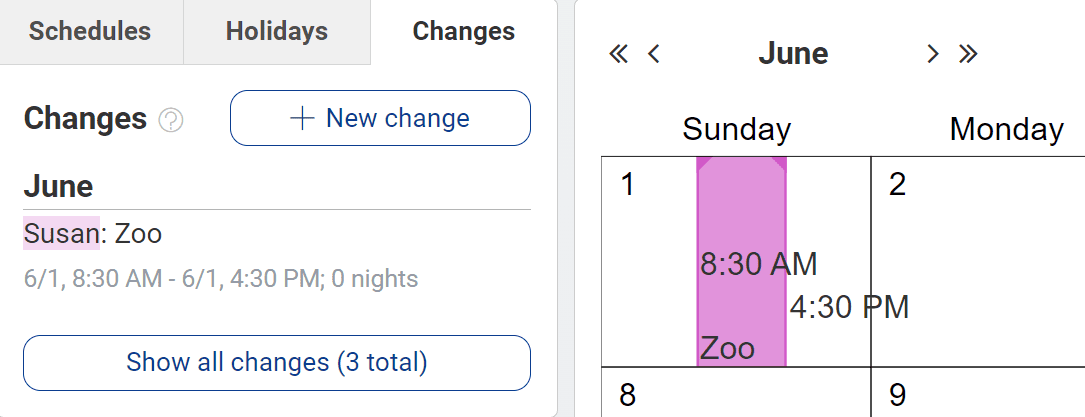
You can continue to add visits by repeating the steps above.
If you know you'll need a new schedule in the future — e.g., when your child reaches a certain age — create additional schedules using templates (with the "add schedule" or "choose a template" button). You'll be able to choose the date when each will take effect.