Make Changes to Your Schedule
If your custody schedule needs adjusting, you have many options, including:
- Move an exchange (one time or always)
- Add or delete a visit (one time or always)
- Write on the calendar only
- Change some weeks or months without affecting others
- Change the schedule's start or end date
- Swap all the parents' visits
- Shift the pattern by a week
- Choose a new pattern (start over)
If you're having a hard time making the change you want, follow the steps to start over at the end of this page.
Move an exchange (one time or always)
If you're looking to privately mark times your co-parent arrives late, use your actual time tracker instead.
Otherwise, to move an exchange:
-
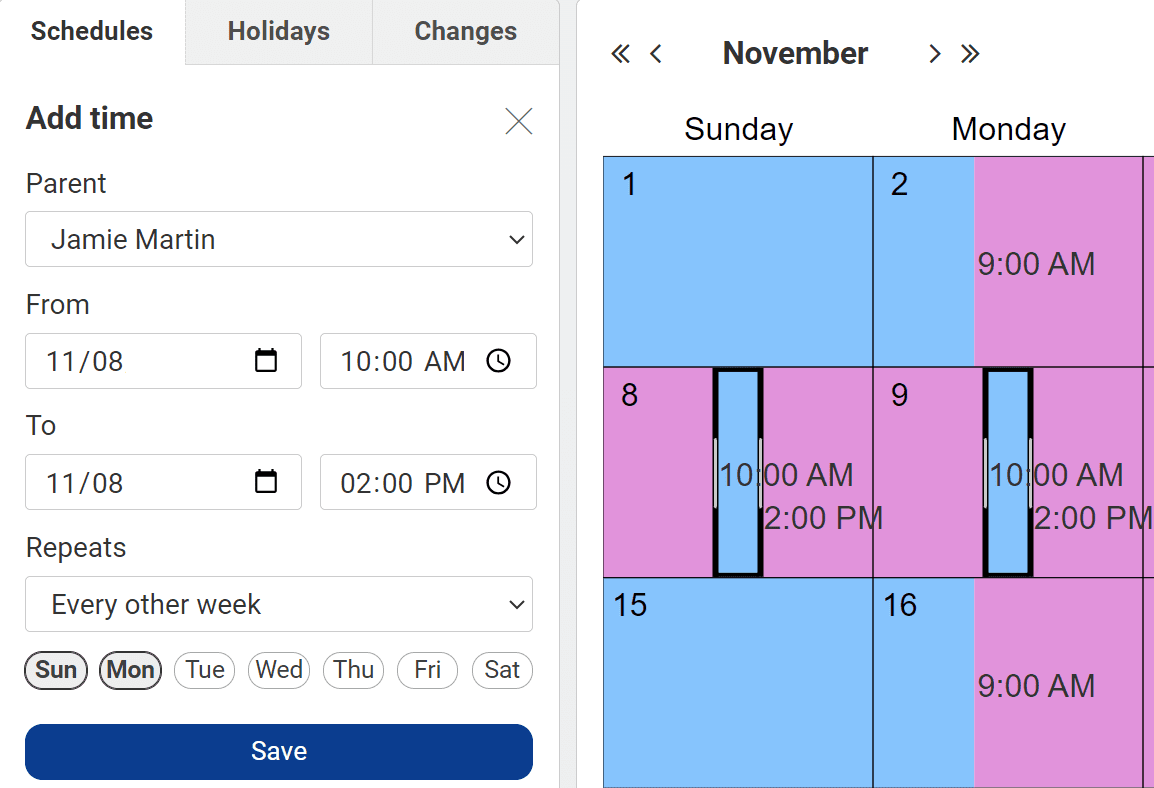
In your calendar, click the exchange you want to adjust.
Drag to the new exchange time, or use the boxes that appear by your calendar to enter a new date and/or time.
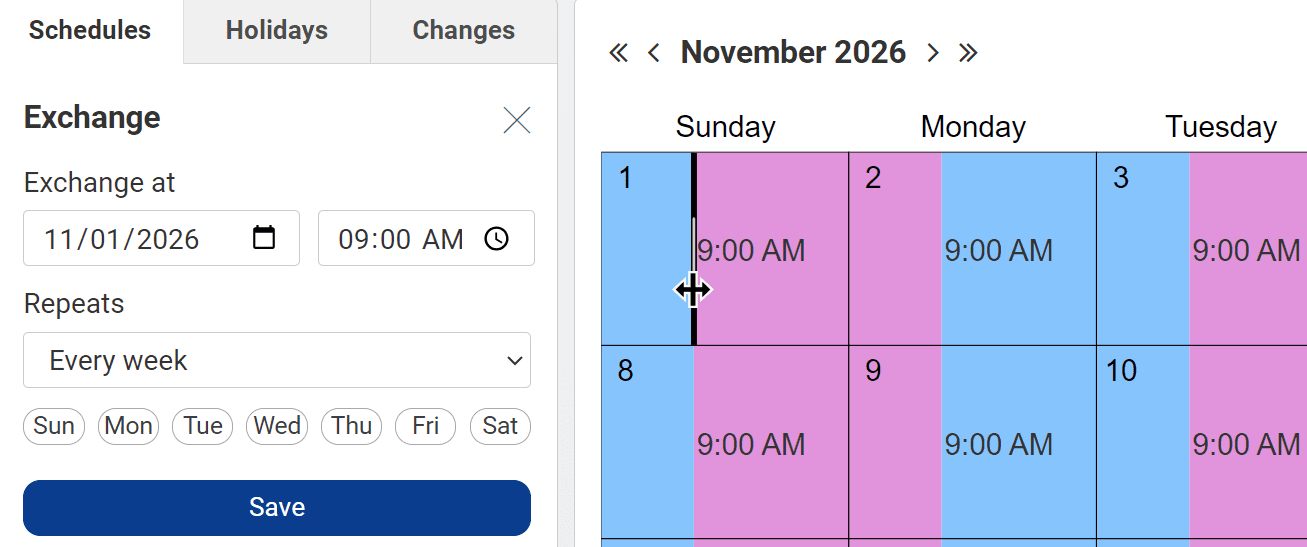
-
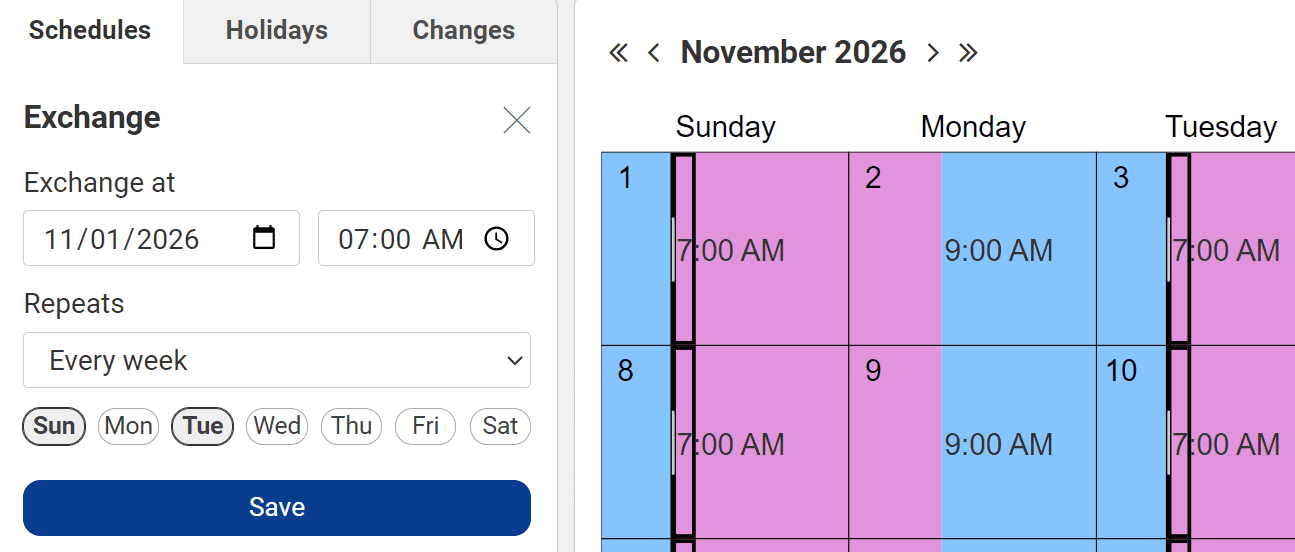
From the drop-down menu, choose how often the change should repeat.
Repeating changes apply to the past and future. They don't appear under the "changes" tab because they become part of your repeating schedule.
If you're adjusting by less than 24 hours, you can apply the change to other days of the week using the buttons beneath the "repeats" box. For example, to move all of Mom's Sunday and Tuesday pickups from 9 a.m. to 7 a.m., select "Sun" and "Tue."
If you choose "does not repeat," you can give this one-time change a title since it's presumably for a unique reason. When you hit save, it will appear under the "changes" tab.
Add or delete a visit (one time or always)
A schedule assigns responsibility for your child to someone at all times. There's no way to unassign a block of time in Custody X Change so that no one has responsibility. However, you can change the responsible person: you, your co-parent or a third party.
To do this, create a new visit (one-time or repeating) to replace the one you don't want. For example, to "delete" a visit for Dad, add a visit for Mom or a third party in its place.
If you're looking to privately mark times your co-parent cancels visits, use your actual time tracker instead.
Otherwise, to add a visit:
-
Click "add time" under the "schedules" tab (beneath or left of your calendar).
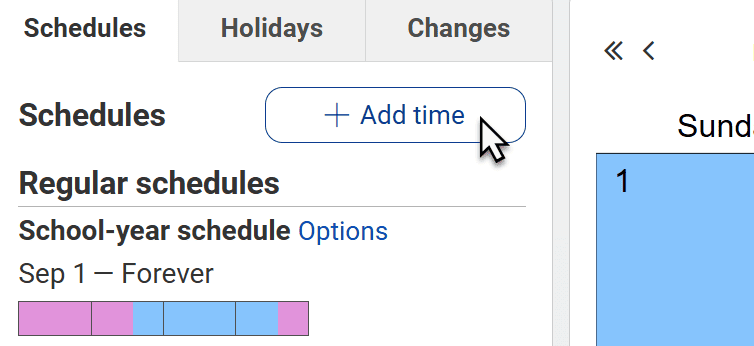
Or just click on the calendar where you want the visit to begin. Don't click too close to an exchange; that will edit the exchange time.
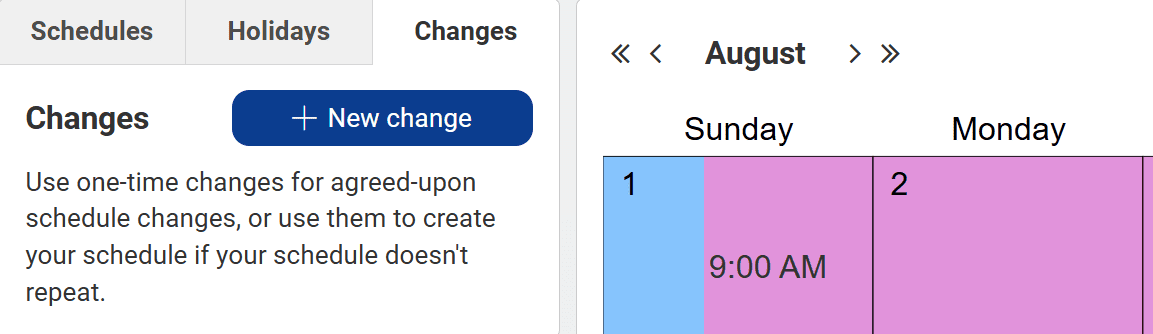
You could instead click "new change" under the "changes" tab — but only if you want this to be a one-time visit.
-
From the drop-down menu that appears, select the parent who will get the new visit.
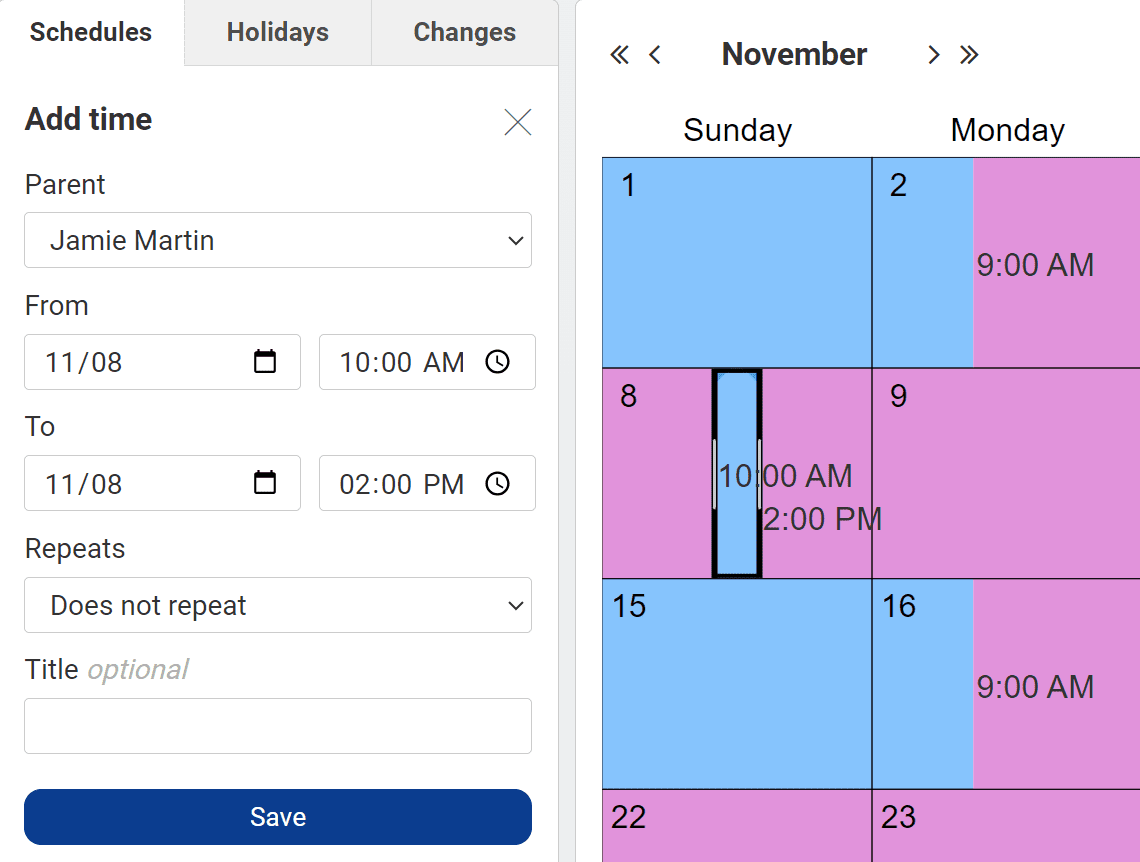
You could select "third party" instead of a parent. Third-party time is for when a child is at school or with a caretaker other than the parents. It's excluded from parenting time calculations.
-
Set the start and end dates/times. You can use the "from" and "to" boxes or click and drag in the calendar. Even if you want this visit to repeat, just choose the dates/times for one instance for now.
-
Choose a repeating rate from the drop-down menu. (You won't have this option if you used the "new change" button, which is for one-time changes).
If you opt not to have the visit repeat, you can give it a title since it's presumably for a unique reason. When you hit save, it will appear under the "changes" tab.
If you opt for the visit to repeat, it will apply to past and future weeks. It will become part of your repeating schedule and will not appear under the "changes" tab.
You can quickly apply repeating visits lasting less than 24 hours to other days of the week. Use the buttons that appear beneath the "repeats" box. For example, to add a visit for Dad on Sundays and Mondays, select "Sun" and "Mon."
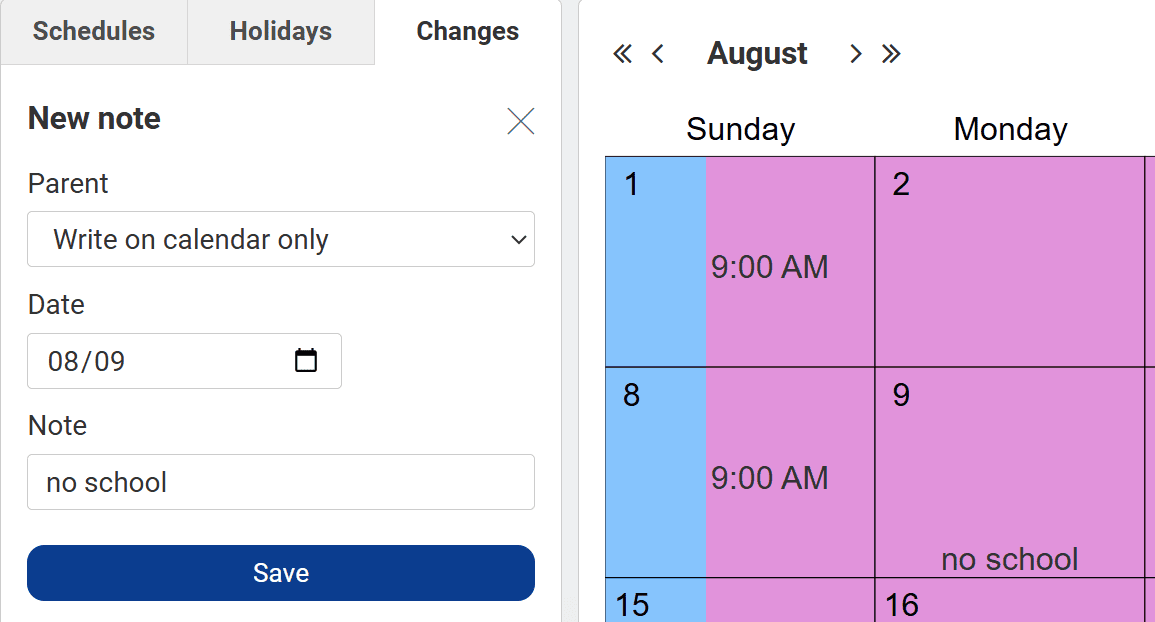
Click inside the calendar, or press the "add time" or "new change" button.
Under "parent," select "write on calendar only."
Choose a date where the note should display. Each day can have one note.
Write the note.
-
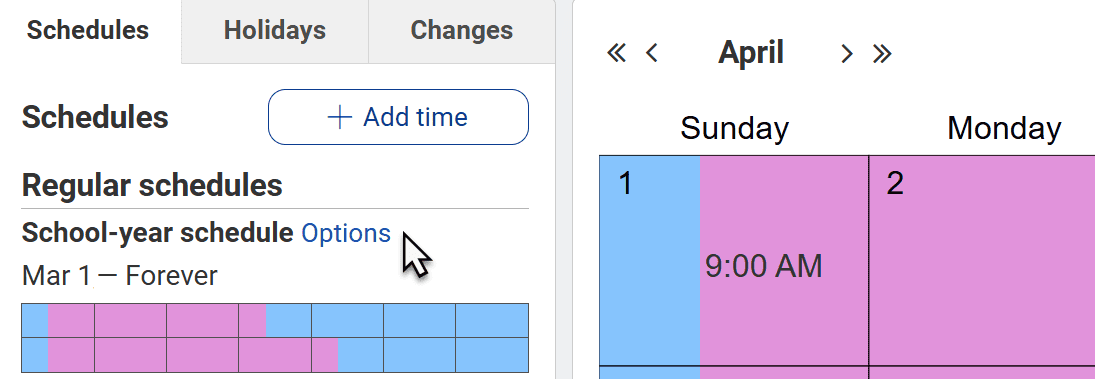
Click "options" next to the name of the schedule you want to edit. Find it beneath your calendar (on a phone) or left of your calendar (on a computer).
-
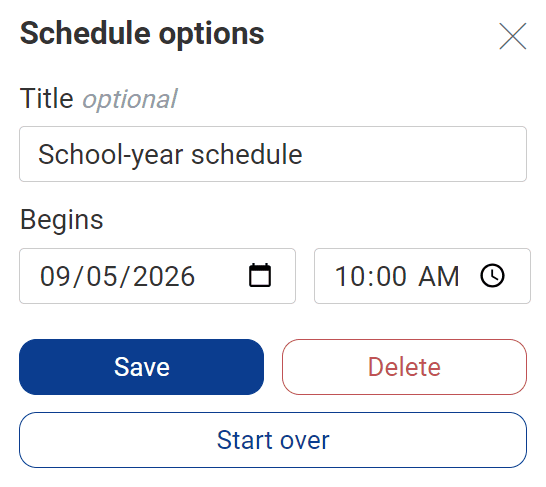
Enter a new date and/or time.
-
Option 1: Click "start over" and follow our steps to make a schedule with a template. (You won't need to click "add schedule" like the article says.) This is the fastest option for many people, especially if they want a common or simple schedule.
-
Option 2: Hit "delete" and follow our steps to make a schedule without a template (manually).
Write on the calendar only
You can write short notes on the calendar: e.g., "no school," "pack lunches" or "out of town." They don't affect who has parenting time.
If you want to apply a specific time or get a reminder, use the activities center instead.
Change some weeks or months without affecting others
If you only want to change a few exchanges or visits in total, you can enter each change individually. Follow the steps above to move each exchange or add/delete each visit. Make sure to set the repeating rate to "does not repeat," otherwise you'll edit your entire schedule.
If that would take too long, make an additional schedule using a template. The new schedule will override your existing one starting on the day you choose. If you give it an end date and set it to repeat annually, it will revert back to your existing schedule when it ends each year.
Change the schedule's start or end date
While all schedules have a start date, most don't have an end date. They end whenever you set another schedule to begin.
If you check the "ends" box, you'll get to set an end date, making it a seasonal schedule. When your seasonal schedule ends, your regular schedule will resume. You'll also see the option to make your seasonal schedule repeat each year.
Swap all the parents' visits
This option gives each parent all of the other parent's time (but it does not affect holidays/occasions or one-time changes). For example, if your schedule currently gives Mom the weekdays and Dad the weekends, this would swap that.
Follow Step 1 from "change the schedule's start or end date" above. Then click, "swap parents."
Shift the pattern by a week
This is only for schedules that don't look the same each week. It moves the schedule by a week. For example, in an every other weekend schedule, the upcoming weekend would change from the noncustodial parent's "on weekend" (with a visit) to their "off weekend" (without a visit).
Follow Step 1 from "change the schedule's start or end date" above. Then click, "shift weeks."
Choose a new pattern (start over)
If you want to make major changes to your schedule's repeating pattern, it's best to start over. You won't lose your holidays/occasions, one-time changes or any other schedules you've made.
Follow Step 1 from "change the schedule's start or end date" above.
From there, you have two options.