Adding, Deleting or Reordering Fields in a Child-Info Form
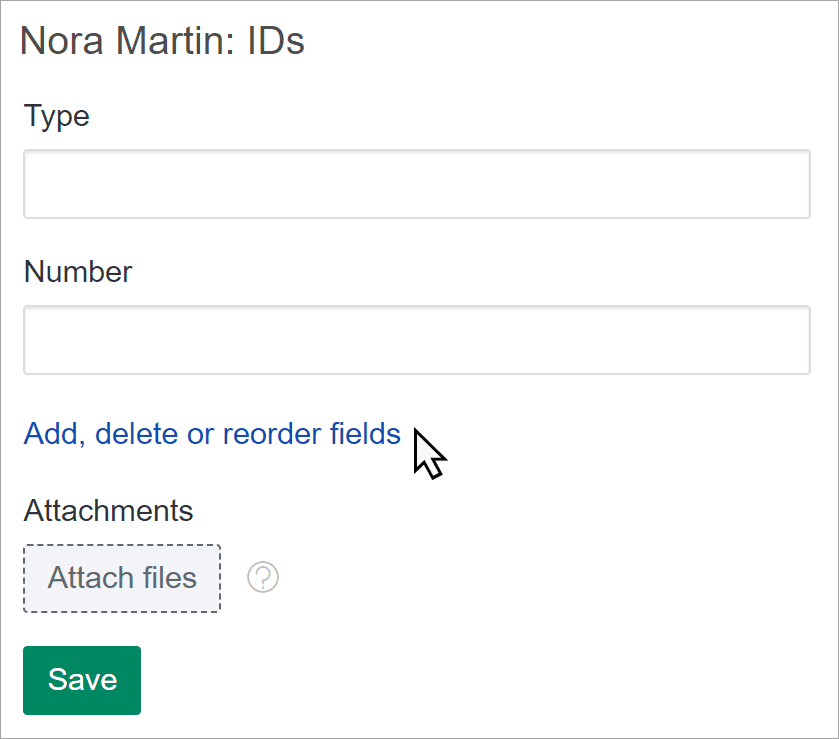
Within a child-info form, you'll see multiple fields for entering data, such as "ID type" and "ID number." Below, we'll walk you through how to add, delete or reorder those fields.
Another option you have is adding, deleting or renaming the forms themselves.
Keep in mind that when a form allows for multiple entries (e.g., one per medical visit), each entry is titled whatever you type highest up the page. For example, if the first field is "date," each medical visit will have a title like "12/5" (unless you skip that field).
To begin, click the form you want to make changes to. Then click "add, delete or reorder fields" at the bottom of the form. You'll be taken to a list of the fields for that topic.
Adding fields
-
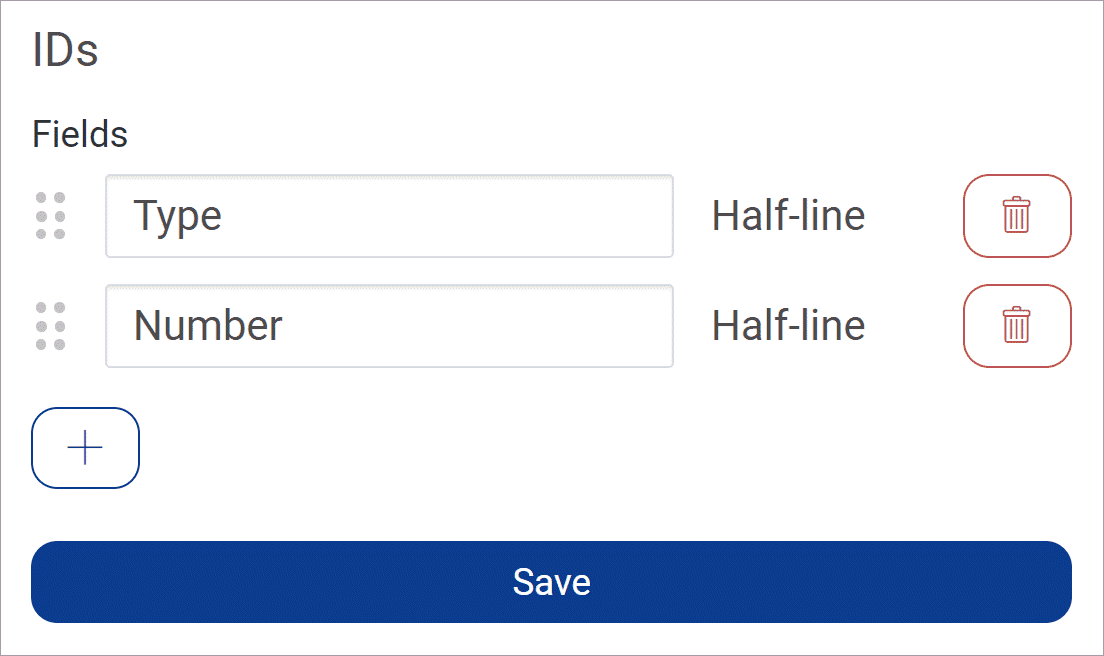
Click the plus button, and type in a title for the new field.
-
Choose how much space the information will need: half a line, a full line, multiple lines or just enough for a date.

-
When you're done making changes, hit "save."
Deleting fields
-
Click the red trash can to the right of the field you want to delete. (You can restore a deleted field by clicking the plus button that appears in place of the trash can.)
-
When you're done making changes, hit "save."
Reordering fields
-
Click the dots to the left of the field you wish to move. Then drag and drop it to a new position in the list.
-
When you're done making changes, hit "save."