Using Calendars and Schedules: Overview
In Custody X Change, your parenting schedules appear on calendars. Think of a calendar as the grid and a schedule as what fills the grid.
Calendars and schedules are available to all subscribers.
More calendar help articles
- Make a schedule quickly with a template
- Make a schedule without a template (manually)
- Make a holiday and annual-occasion schedule
- Editing your schedules
- Using multiple calendars
- Sharing, syncing and printing
Using schedules in Custody X Change
A schedule is a framework for how parents share time with their child.
Most families use more than one type of schedule on a calendar:
- Regular schedule: Your usual parenting routine. You can have more than one (e.g., one for now and one for when your child starts preschool).
- Seasonal schedule: Overrides your regular schedule for a few weeks or months (like for summer). It can be just once, or it can repeat every year.
- Holiday/occasion schedule: Overrides your regular and seasonal schedules during a holiday or other annual occasion, usually for a few hours or days.
You can also make one-time changes, which override all schedules.
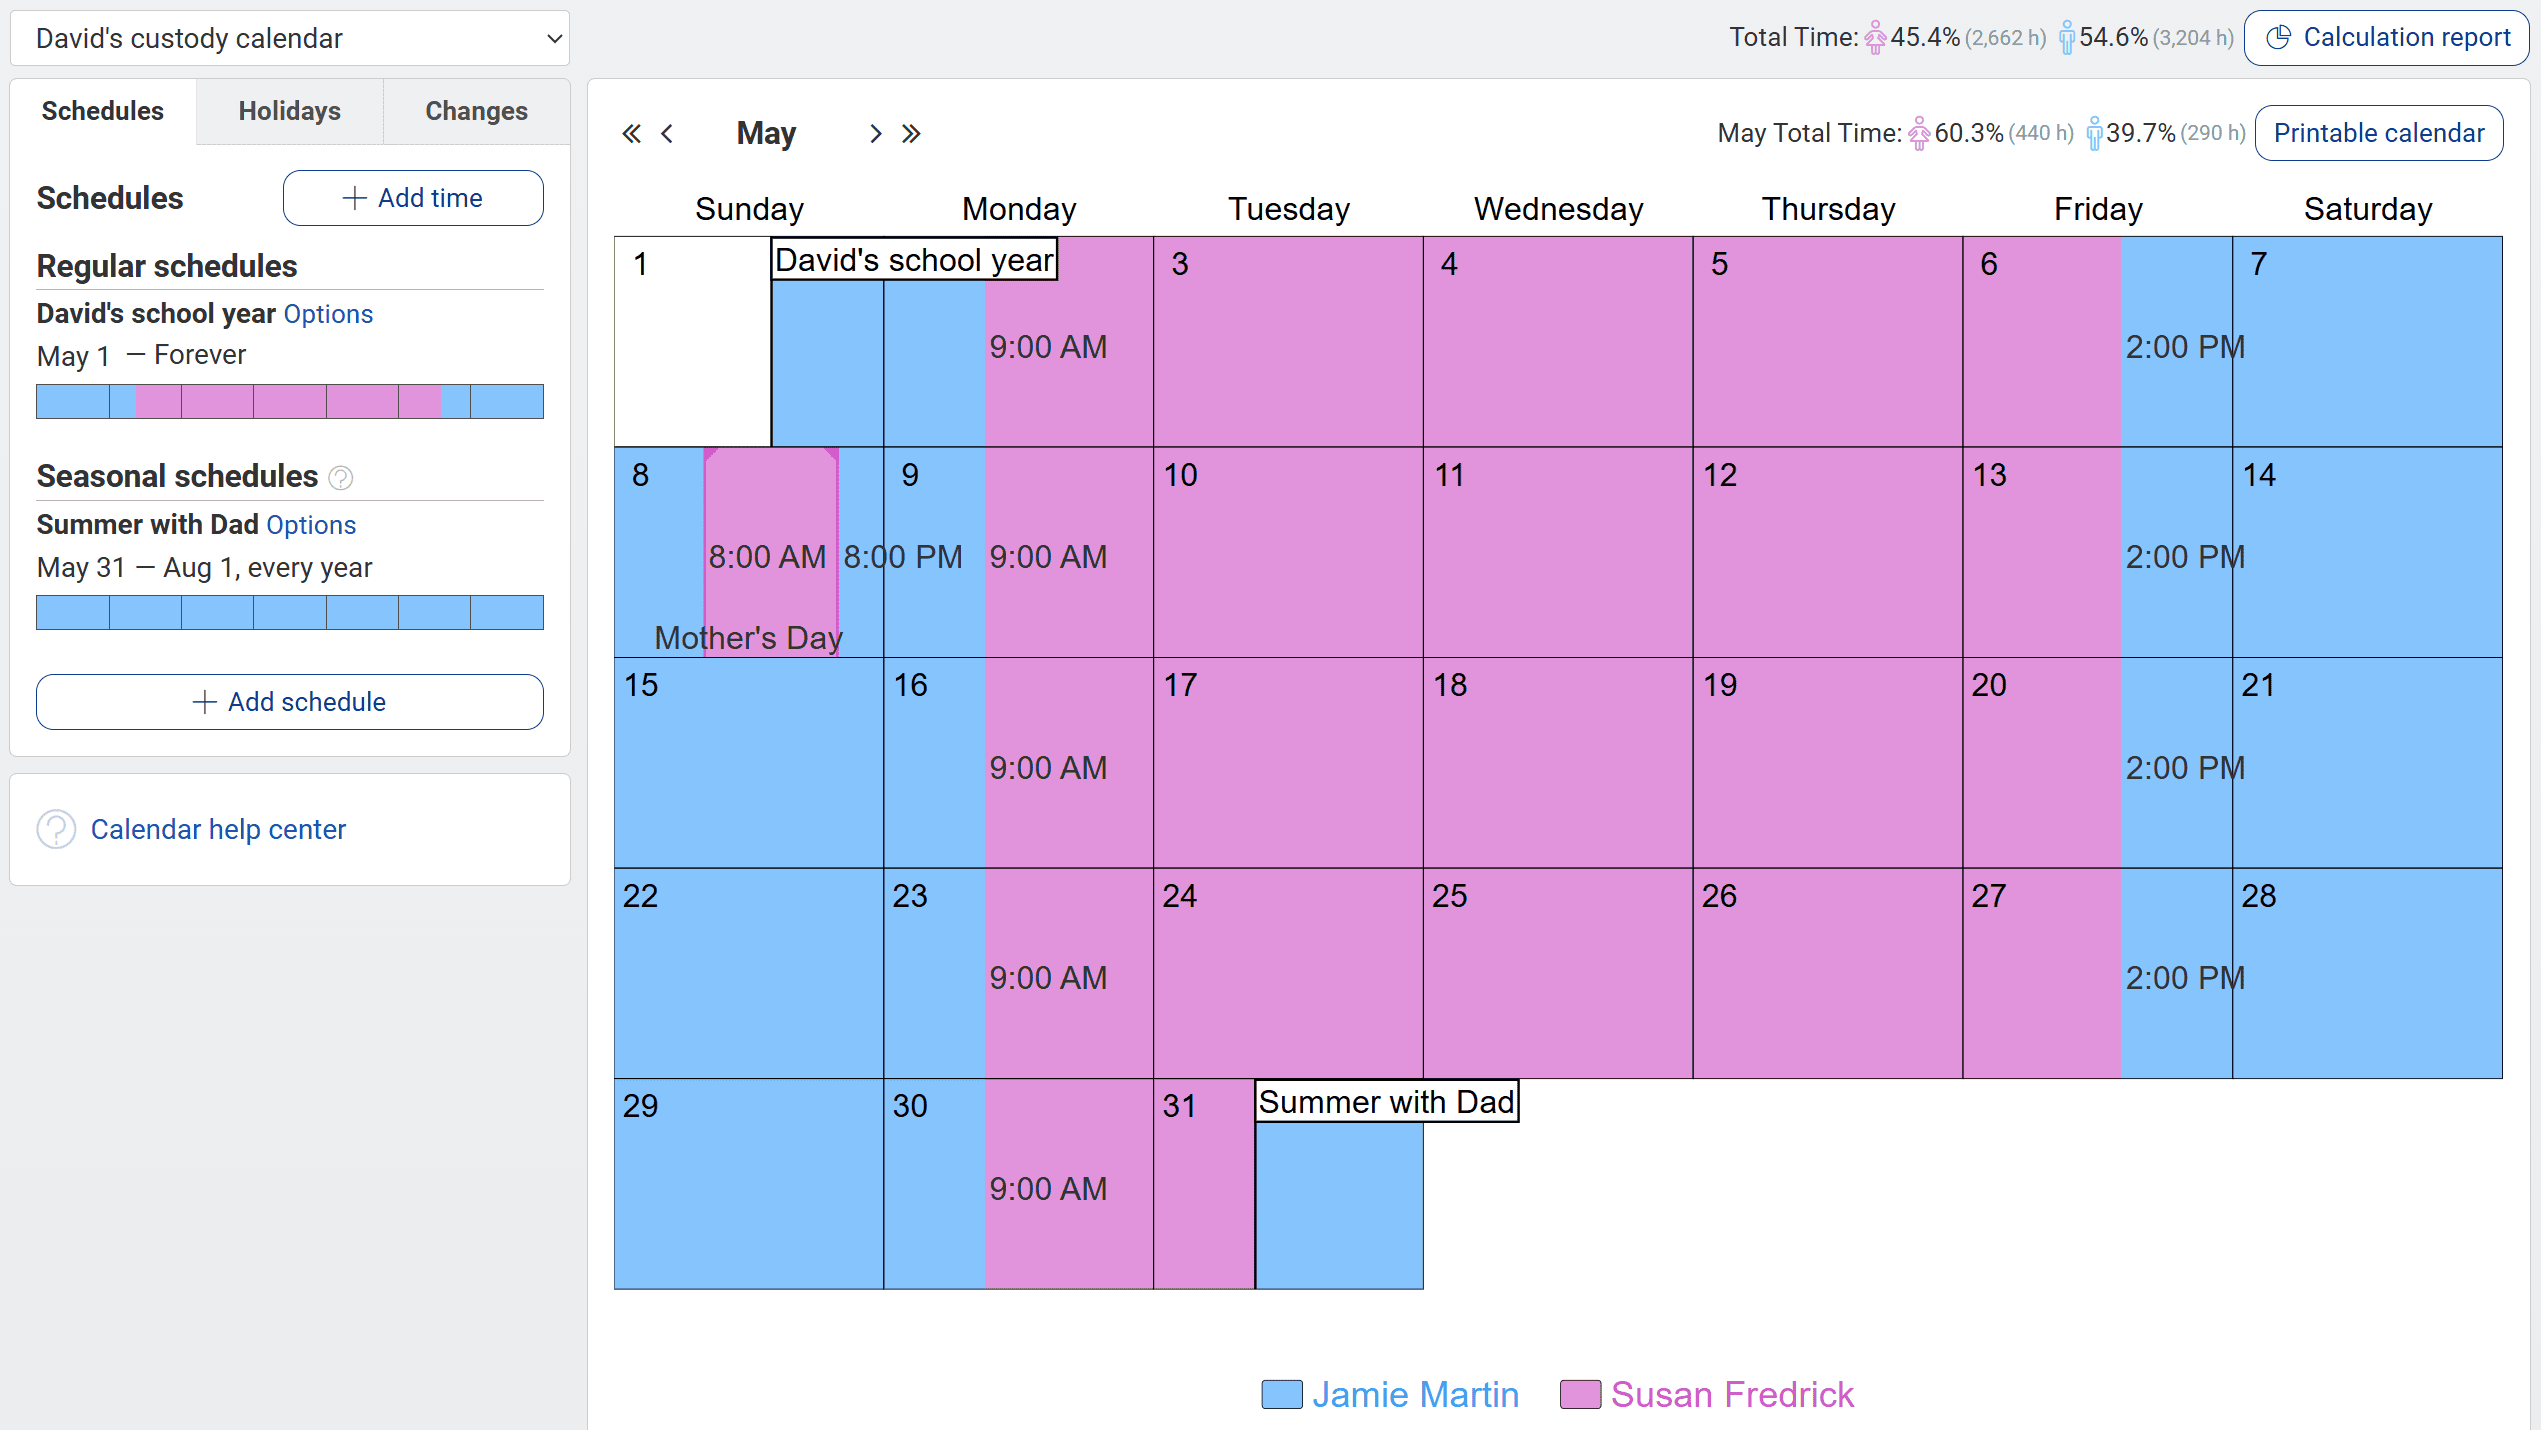
In the image above, you can see that the Mother's Day holiday overrides the regular schedule for May 8. The seasonal schedule overrides the regular schedule beginning May 31.
Using calendars in Custody X Change
A calendar groups your schedules together so you can see who has custody at any time.
When you insert a calendar into a parenting plan, the plan describes all its schedules with court-ready language and visuals.
Many people only need one calendar. You might use more than one calendar if you're creating drafts or if your children follow different custody schedules.
Private versus shared calendars
When you make a new calendar, you'll select whether you want it to be private or shared. Your first calendar is automatically set to shared, which you can change.
Private calendars: Besides you, only your legal professionals have access (if you link accounts with them).
Shared calendars: Your co-parent and legal professionals have full access if you link with them. You'll be notified when they make changes. Other people you link with see a read-only version with no parenting time report.
If you change a shared calendar to private, you and your linked co-parent will each keep a private copy. You'll no longer receive updates the other makes, so your separate copies could begin to differ.
Calendar and schedule tips
- Enter your child's activities under the "activities" tab. The activities center shows your daily agenda — sports practices, tutoring, etc. — on top of your custody schedule.
- Track when your co-parent doesn't follow the schedule if you need to prove a pattern. Use the actual-time tracker, which will also tell you how much parenting time you lost or gained.
- If you use another calendar app, sync your custody schedule there. Visit your account settings to sync with a calendar service like Google or Outlook.
- You can make notes without affecting custody time. Click "add time," then select "write on calendar only" instead of a parent name.
Changing your settings: Colors, notifications, etc.
Visit your account settings to personalize your Custody X Change calendars.
There, you can adjust each parent's icon and color.
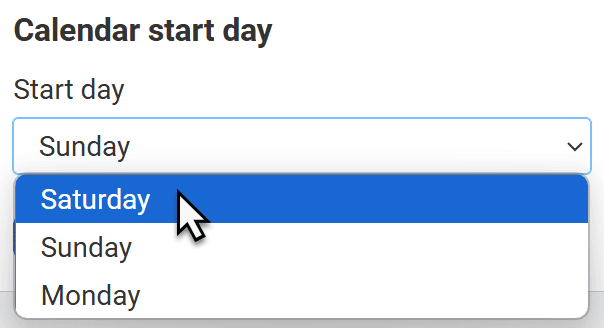
You can also choose the first day of the week (called "calendar start day").
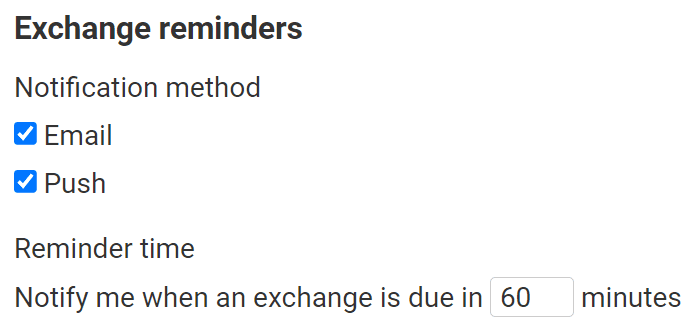
And you can set how you'll be notified of upcoming exchanges and of edits your co-parent makes.
When you're ready to create a schedule
Your first calendar is created automatically. All you have to do is add schedules to it.
Start by creating your regular custody schedule.